

Project Scenario: Small Business E-commerce Site
Background: A small business aiming to establish an online presence for their wholesale store decides to launch an e-commerce site. The site is primarily static but requires high reliability, fast load times, and the ability to handle spikes in traffic during promotional events or sales.
The project focused on deploying a static website using an Azure Virtual Machine (VM) and Nginx web server, with an emphasis on automation and best practices. The deployment process involved several key steps, from setting up the VM in Azure to configuring Nginx to serve the static content. Here’s a summary of the project and its successful deployment:
Project Overview
Objective: To deploy a static website on a cloud infrastructure, utilizing Azure VM for hosting and Nginx for serving the website content.
Tools Used: Azure Cloud Services for the VM, Nginx as the web server, Bash for scripting the setup, and Git for source control management.
Deployment Method: Automated deployment using a custom Bash script.
Deployment Process
VM Setup: A Virtual Machine was created in Azure, selecting an appropriate size and region, and configuring it with Ubuntu 20.04 LTS as the operating system.
SSH Access: Secured SSH access was established for the VM, allowing remote management and script execution.
Nginx Installation: Nginx was installed on the VM, setting it up as the web server to handle HTTP requests.
Website Content Management: A specific directory structure was created under
/var/www, and the static website content was cloned from a GitHub repository into this directory.Nginx Configuration: The Nginx server block (virtual host) was configured to serve the static website, specifying the server name and document root, and ensuring proper handling of website requests.
Automated Script Execution: A Bash script automated the process, including system updates, Nginx installation and configuration, and website content deployment.
Security and Permissions: Proper permissions were set for the website content, and firewall rules were configured to allow HTTP traffic.
Final Testing: The Nginx configuration was tested for syntax errors, and the web server was restarted to apply all changes. The website was then accessed via the VM’s public IP address to confirm successful deployment.
Benefits
Efficiency: The automation script significantly reduced manual setup time and minimized human error.
Scalability: The use of Azure VMs allows for easy scaling of resources to accommodate varying traffic loads.
Control: Full control over the hosting environment was achieved, from the operating system to the web server configuration.
Security: SSH access and configurable firewall rules enhanced the security of the deployment.
Step 1: Create a VM in Azure
Log in to your Azure Portal.
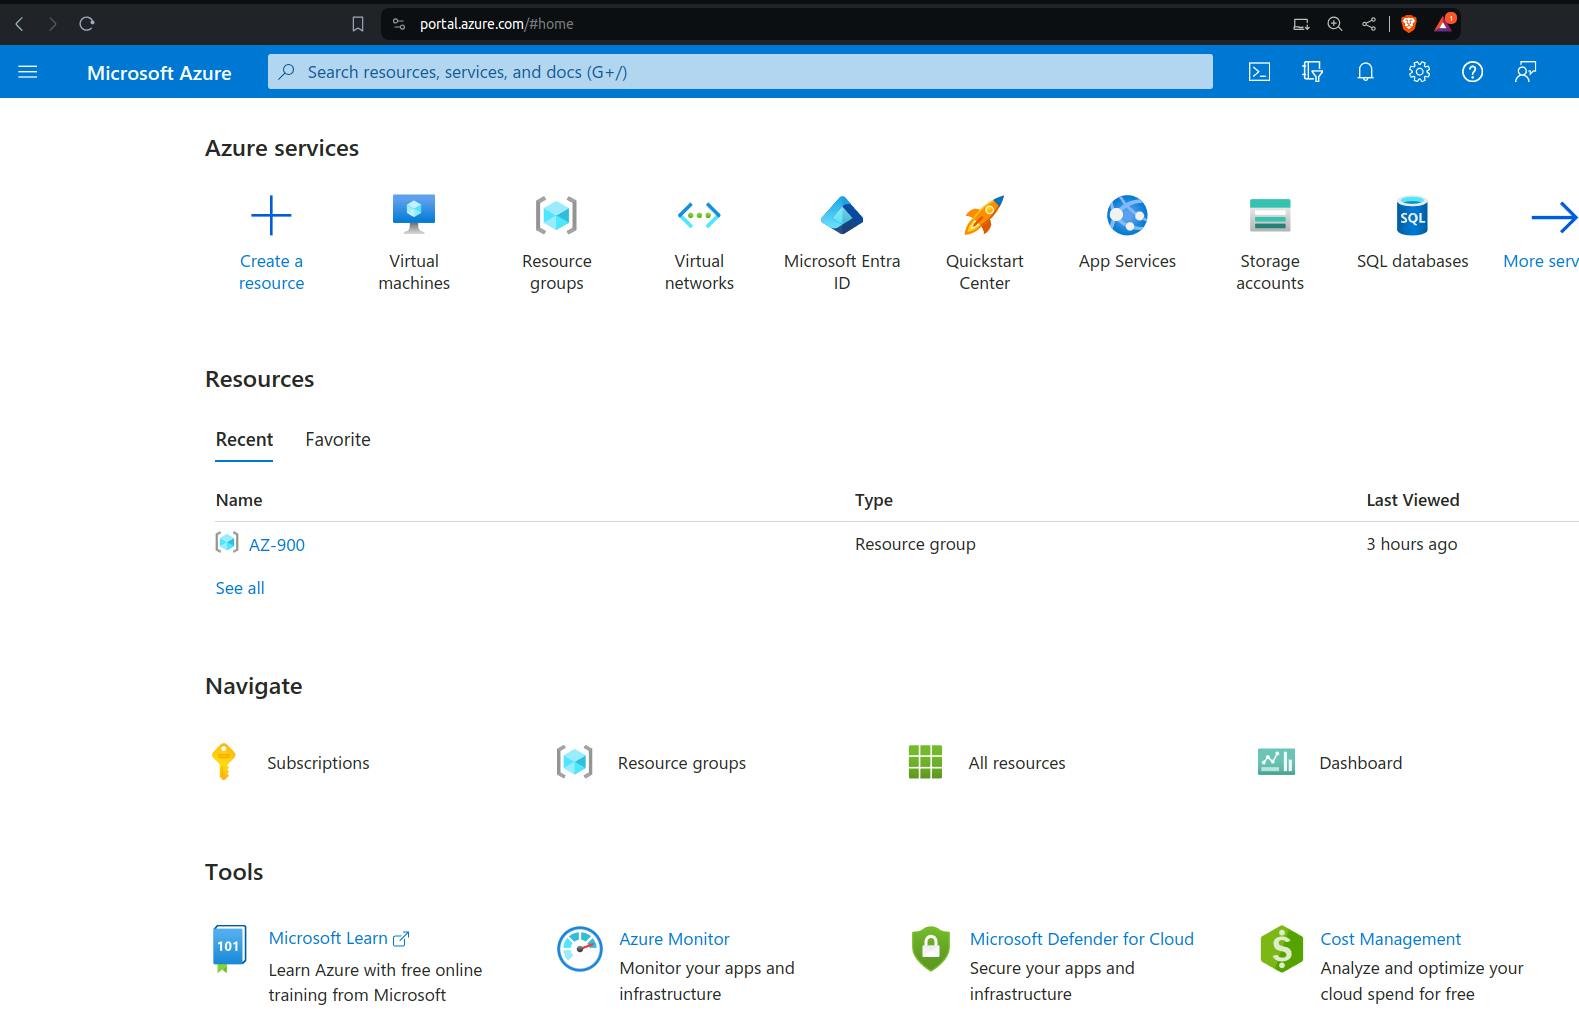
Navigate to Virtual machines and click on + Create.
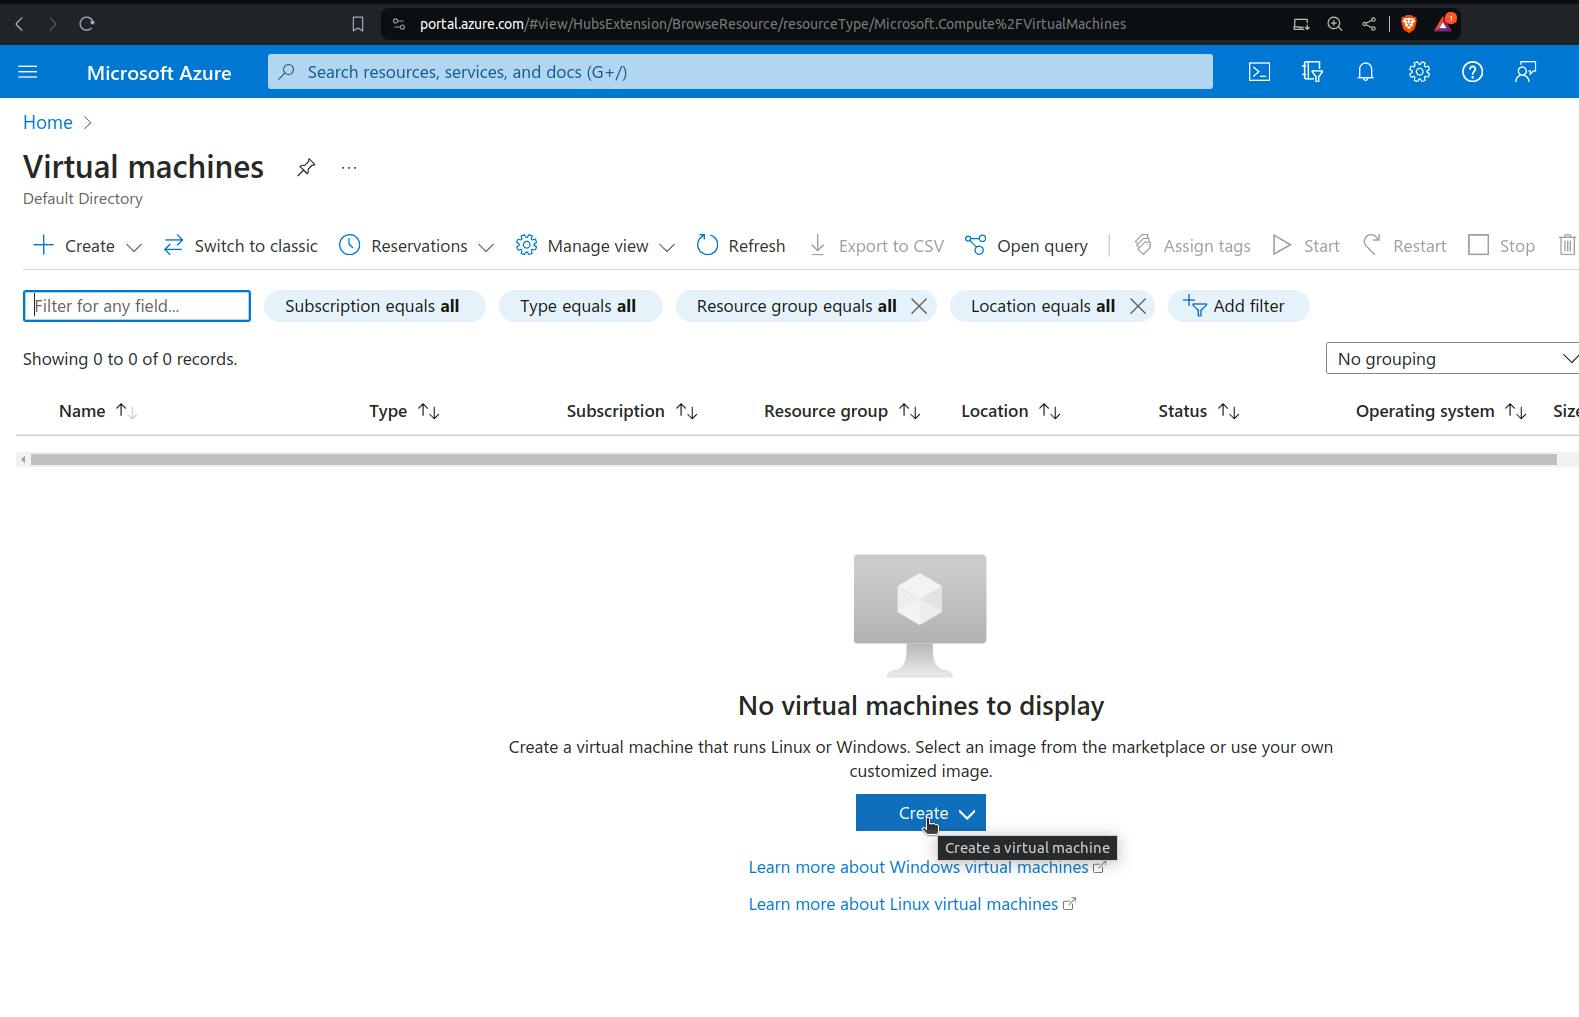
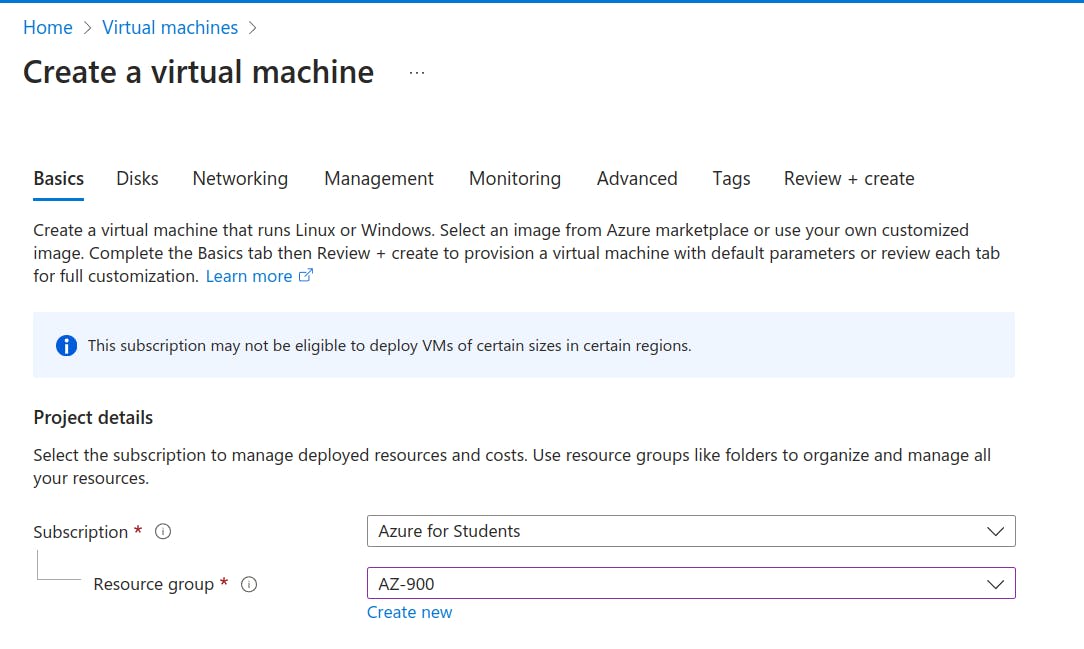
Choose your subscription and resource group (create a new one if necessary).
Enter a Virtual machine name.
Choose a Region.
Select an Image (e.g., Ubuntu 20.04 LTS).
Choose a Size for your VM.
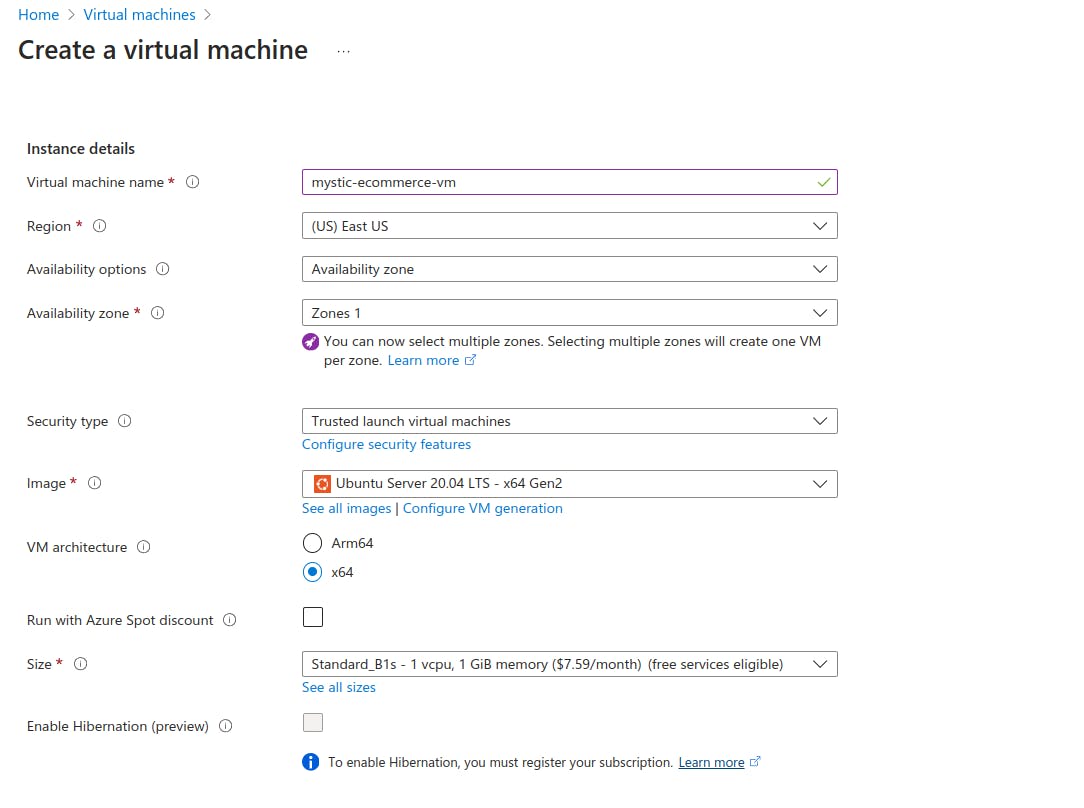
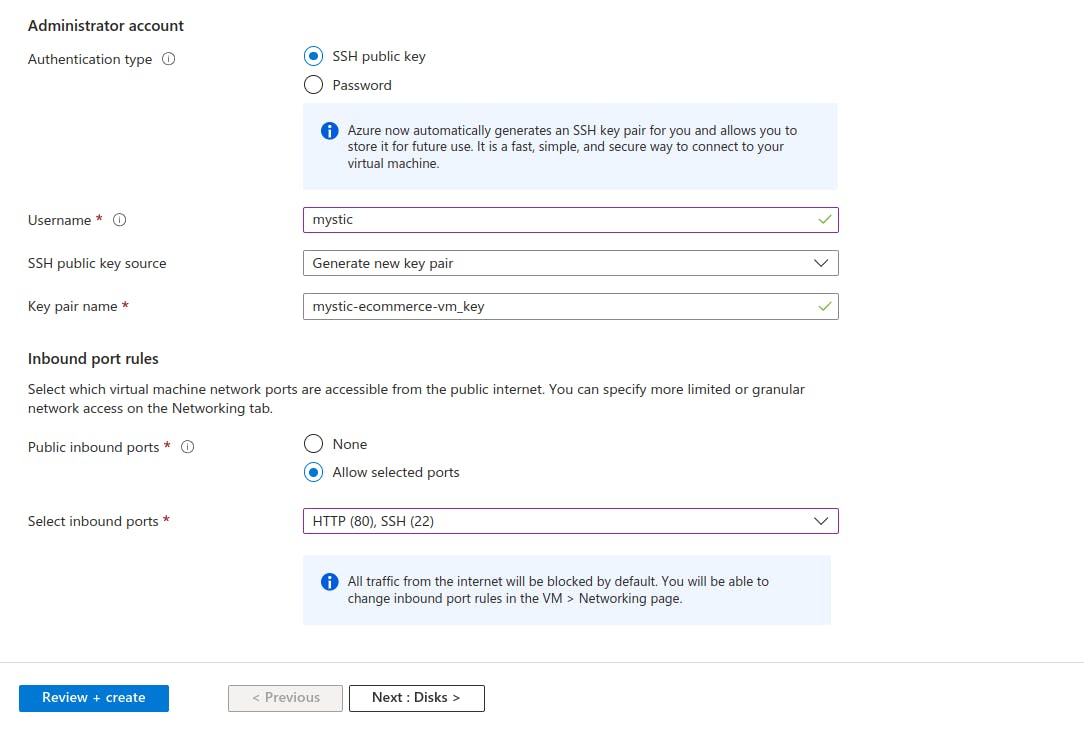
Set up Administrator account with a username and SSH public key (or password).
Under Inbound port rules, allow SSH (22) and HTTP (80).
Click
Next:Diskand thenNext:Networking, check the boxDelete public IP and NIC when VM is deleted

Click Review + create and then Create after validation passes.

And download the ssh key.

Your VM will be successfully created.

Step 2: Connect to Your VM
Once your
VMis deployed, clickHomeandVirtual Machineand go to its Overview page and note the Public IP address.
Open the terminal where your ssh file
.pemfile is located and Connect to your VM via SSH:ssh -i your_username@your_vm_public_IP.
Step 3: Create a bash file script.sh nano script.sh and paste following configuration and save the file, ctrl s and ctrl x .

#!/bin/bash

# Ensure the script is run with root privileges
if [ "$(id -u)" != "0" ]; then
   echo "This script must be run as root" 1>&2
   exit 1
fi

# Step 1: Update the operating system packages
apt update -y

# Step 2: Install Nginx
apt install nginx -y

# Step 3: Navigate to /var/www and create a folder named your_domain.com
cd /var/www
mkdir mystic.com
cd mystic.com

# Step 4: Clone the GitHub repository into the directory
# Replace 'https://github.com/siddhantbhattarai/e-commerce-static-site.git' with your actual GitHub repository URL
git clone https://github.com/siddhantbhattarai/e-commerce-static-site.git .

# Ensure git is installed or handle its absence
if ! command -v git &> /dev/null
then
    echo "git could not be found, installing now..."
    apt install git -y
    git clone https://github.com/siddhantbhattarai/e-commerce-static-site.git .
fi

# Step 5: Configure Nginx to serve your site
# Navigate to Nginx sites-available directory and create a new configuration
cd /etc/nginx/sites-available/

# Note: It's better to use the sites-available and sites-enabled pattern with symlinks
# Replace 'mystic.com' with the actual domain name file for clarity, e.g., your_domain.com
sudo tee mystic.com <<EOF
server {
    listen 80;
    listen [::]:80;
    server_name mystic.com;

    root /var/www/mystic.com;
    index index.html;

    location / {
        try_files \$uri \$uri/ =404;
    }
}
EOF

# Create a symlink to enable the site
ln -s /etc/nginx/sites-available/mystic.com /etc/nginx/sites-enabled/

# Optional: Remove the default Nginx site configuration to avoid conflicts
rm /etc/nginx/sites-enabled/default

# Step 7: Test Nginx configuration for syntax errors
nginx -t

# Step 8: Restart Nginx to apply the changes
systemctl restart nginx

# Display a success message
echo "Nginx has been configured to serve your site and restarted successfully!"


Step 5: Access Your Website
Open a web browser and navigate to
http://your_vm_public_IP. You should see your static website.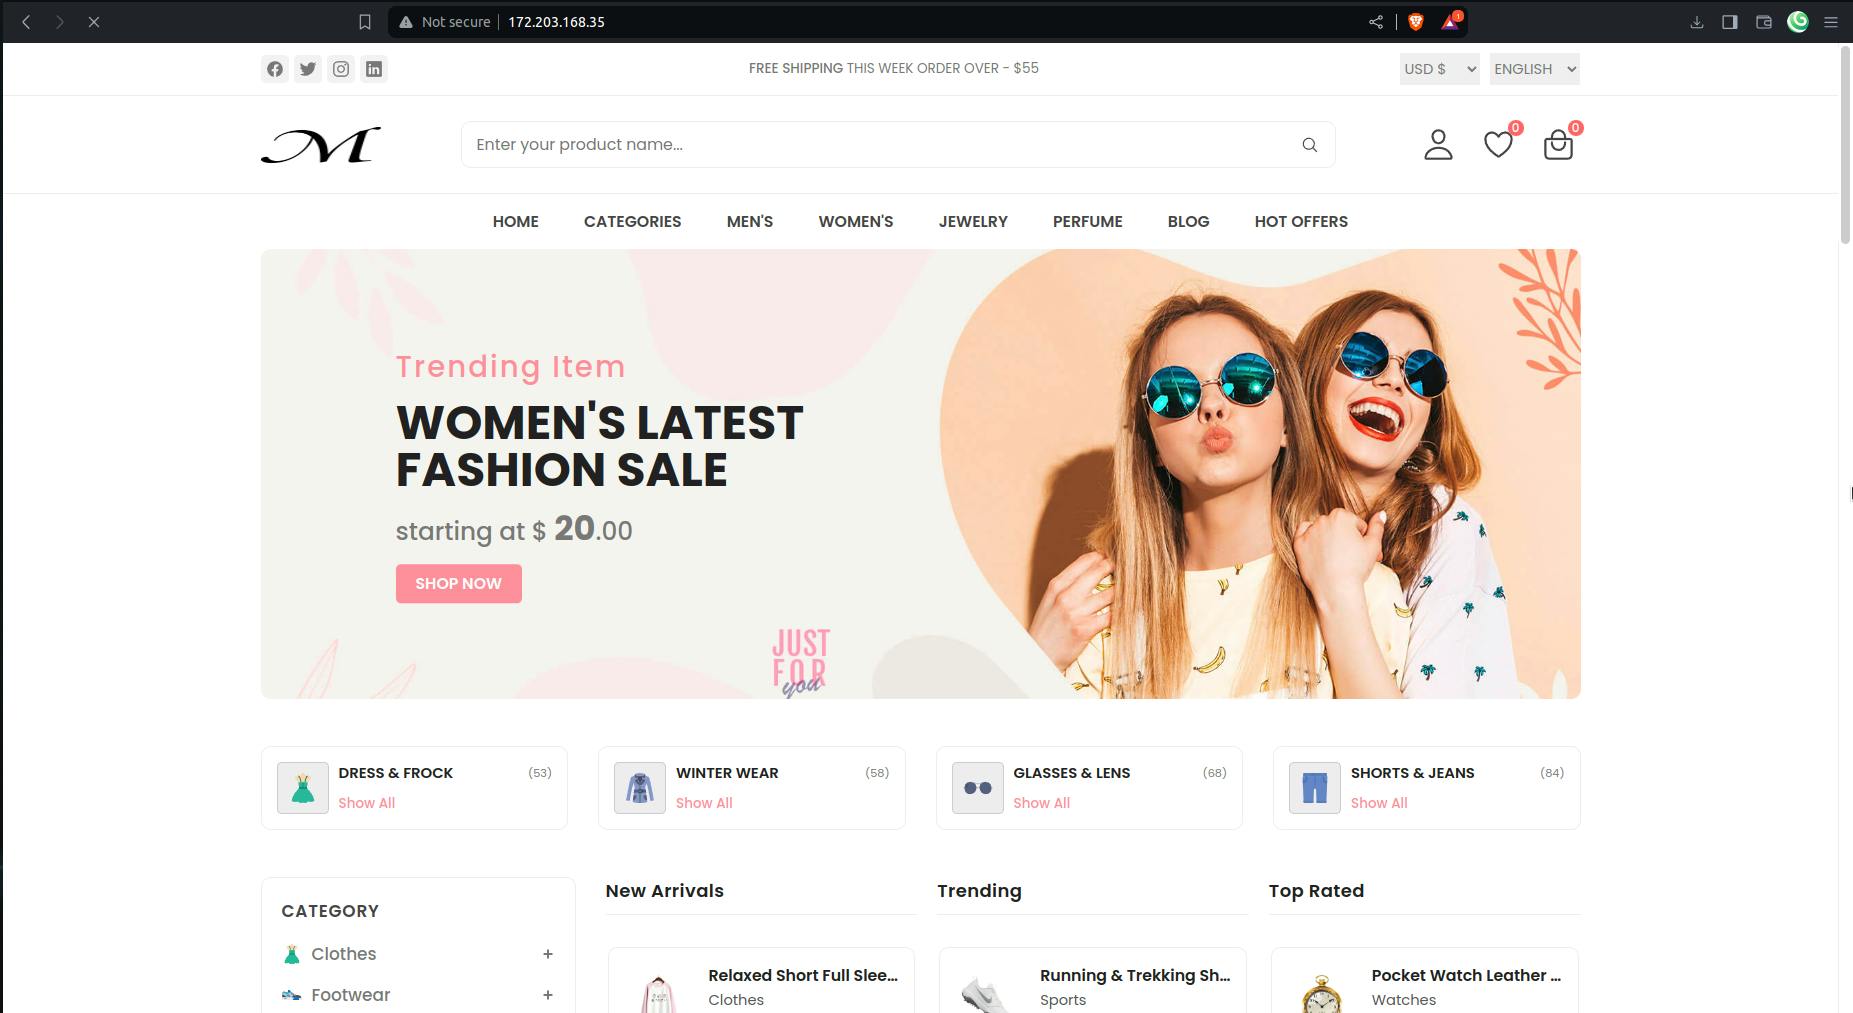
Step 6: Cleaning the Resources
To delete a Virtual Machine in Azure, follow these steps: Go to the Home page, click on "Virtual Machines," select the VM you wish to delete, then click the "Delete" button. Finally, check the "I confirm" checkbox to acknowledge the deletion and proceed.

Conclusion
This project exemplifies the power of cloud computing and automation in deploying and managing web applications. By leveraging Azure VMs, Nginx, and Bash scripting, a scalable, secure, and efficient hosting solution was implemented for a static website. The successful deployment underscores the importance of automation in modern cloud infrastructure management, providing a template that can be adapted for similar future projects.
Subscribe for more!!