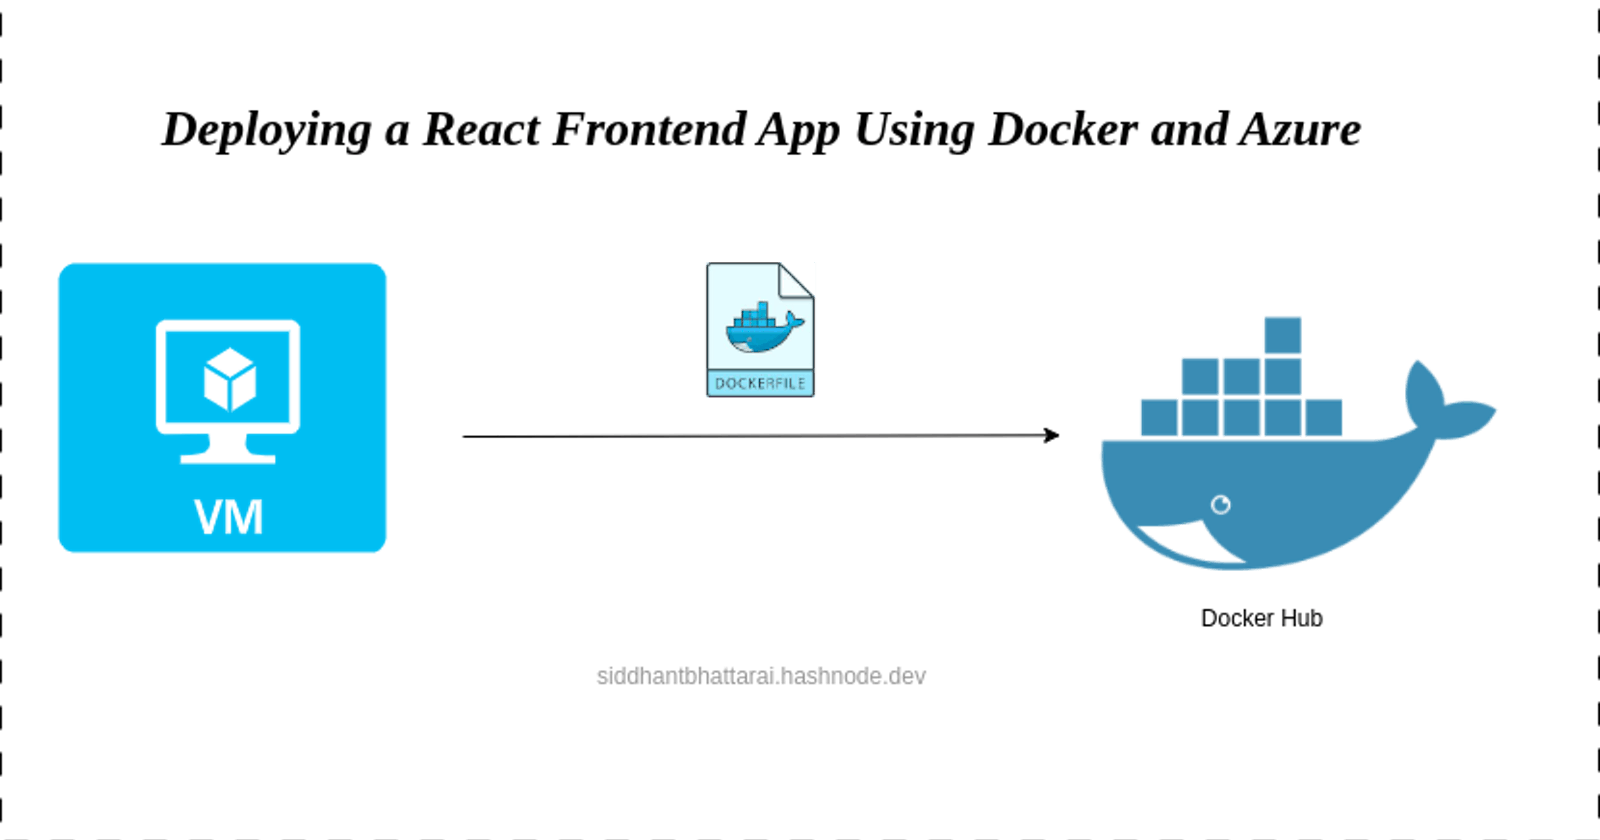


In today’s fast-paced development environment, deploying applications efficiently and reliably is crucial for success. This guide will walk you through the process of deploying a React frontend app using Docker and Azure, ensuring that your application is up and running in no time. From creating virtual machines (VMs) with Azure CLI to pushing Docker containers to DockerHub, we've got you covered.
Step 1: Setting Up Your Environment with Azure CLI
The first step in our journey is to create a virtual machine (VM) using the Azure Command Line Interface (CLI). Azure CLI provides a set of commands that allow you to manage Azure resources directly from the terminal. Begin by installing Azure CLI on your local machine, and then run the following command to create a VM:
az group create --name <YourResourceGroupName> --location <location>
az vm create --resource-group <YourResourceGroupName> --name <YourVMName> --image Canonical:0001-com-ubuntu-server-jammy:22_04-lts:latest --generate-ssh-keys
Replace <YourResourceGroupName> and <YourVMName> with your desired resource group and VM name, respectively. This command creates a new VM based on Ubuntu LTS and generates SSH keys for secure access.
Step 2: SSH into Your VM
Once your VM is up and running, SSH into it using the generated SSH keys. This allows you to manage your VM directly:
ssh <YourVMUsername>@<YourVMPublicIP>
Replace <YourVMUsername> and <YourVMPublicIP> with your VM's username and public IP address.
Step 3: Set Up Your Development Environment
With access to your VM, it's time to set up your development environment. Start by creating GitHub and DockerHub accounts, if you haven’t done so already. These accounts will be essential for version control and managing Docker images.
Next, install Docker Desktop and Git on your VM. Docker Desktop provides a simple way to build and manage Docker containers, while Git is necessary for version control and collaborating with others.
For Linux:
sudo apt update
sudo apt install -y docker.io
sudo chown $USER /var/run/docker.sock
Step 4: Configure Docker and GitHub
Log in to Docker Desktop using your DockerHub credentials. This step is crucial for pushing your Docker images to DockerHub later on.
docker login
Step 5: Prepare Your Application
Clone your React frontend app repository to your VM using Git. With your project cloned, navigate into your project directory.
git clone <your_github_app_link>
Step 6: Dockerize Your React App
Create a Dockerfile in your project directory with the following content:
# Use an official Node runtime as a base image for building the app
FROM node:14-alpine AS builder

# Set the working directory in the container
WORKDIR /usr/src/app/frontend

# Copy package.json and package-lock.json to the container
COPY package*.json ./

# Install frontend dependencies
RUN npm install

# Copy the rest of the application files to the container
COPY . .

# Build the frontend app
RUN npm run build

# Use NGINX as a lightweight base image to serve the app
FROM nginx:alpine

# Copy the built app from the previous stage
COPY --from=builder /usr/src/app/frontend/build /usr/share/nginx/html

# Expose port 80 to the outside world (default for HTTP)
EXPOSE 80
This Dockerfile performs a multi-stage build: first, it builds your React app using an official Node image, and then it serves the app using an NGINX image. Multi-stage builds are efficient as they reduce the size of the final image.
Step 7: Build and Run Your Docker Image
Build your Docker image using the following command:
docker build -t resturant-frontend-app .
Replace <your-username> with your DockerHub username. After the image is built, you can run it locally to test:
docker run -p 80:80 resturant-frontend-app
Step 8: Push to DockerHub
Once you’re satisfied with your app running locally, push it to DockerHub: Create a public repository named resturant-frontend-app and push your app to DockerHub
docker tag resturant-frontend-app <your-username>/resturant-frontend-app
docker push <your-username>/resturant-frontend-app
Conclusion
Deploying a React frontend app using Docker and Azure is a straightforward process that ensures your application is delivered efficiently and reliably. By following these steps, you can leverage the power of containerization and cloud computing to enhance your development workflow. Whether you're a seasoned developer or just starting, this guide provides the foundation you need to deploy your applications with confidence.